
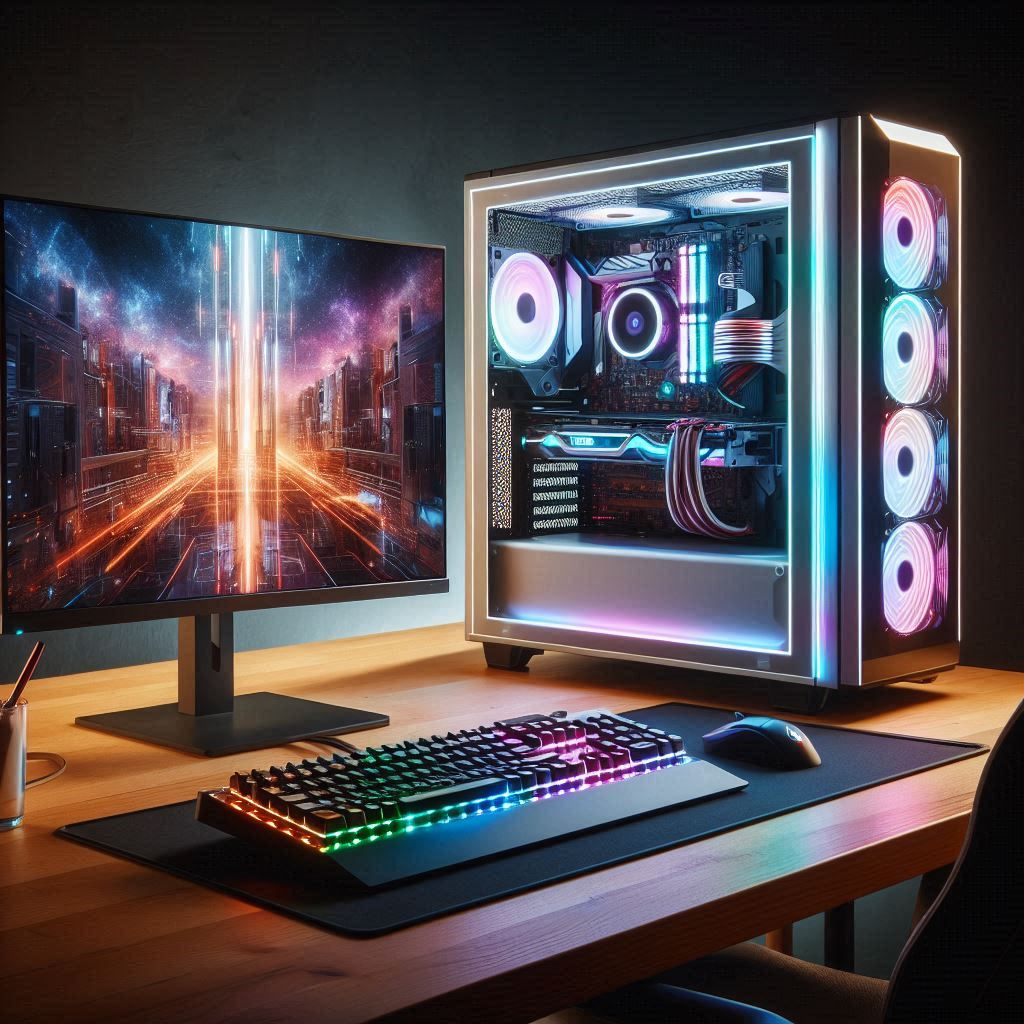
How to Assemble a Computer
A Step-by-Step Guide That Won’t Make You Cry (Probably)
Hey there, future PC-building legend! 👋 So, you’ve decided to assemble your own computer. Maybe you’re tired of overpriced pre-builts, or you want a machine that runs Crysis at max settings while simultaneously folding laundry. Whatever your reason, I’m here to walk you through the process—no jargon, no panic, just you and me figuring this out.
Let me start with a confession: The first time I built a PC, I forgot to plug in the CPU power cable. Three hours of troubleshooting later, I realized my mistake. Moral of the story? We’ve all been there. Let’s avoid that disaster together, shall we?
Why Build Your Own PC? (Spoiler: It’s Not Just for Nerds)
Before we dive in, let’s address the big question: Why bother building a computer yourself?
Cost savings: Pre-built PCs often mark up parts by 20-30%. That’s like paying extra for someone else to bake your birthday cake.
Customization: Want RGB lighting that syncs with your Spotify playlist? Or a silent rig for late-night gaming? You call the shots.
Bragging rights: Nothing beats casually dropping, “Oh, this old thing? I built it myself.”
Tools You’ll Need (No, You Don’t Need a PhD)
Gather these basics—most are probably already in your junk drawer:
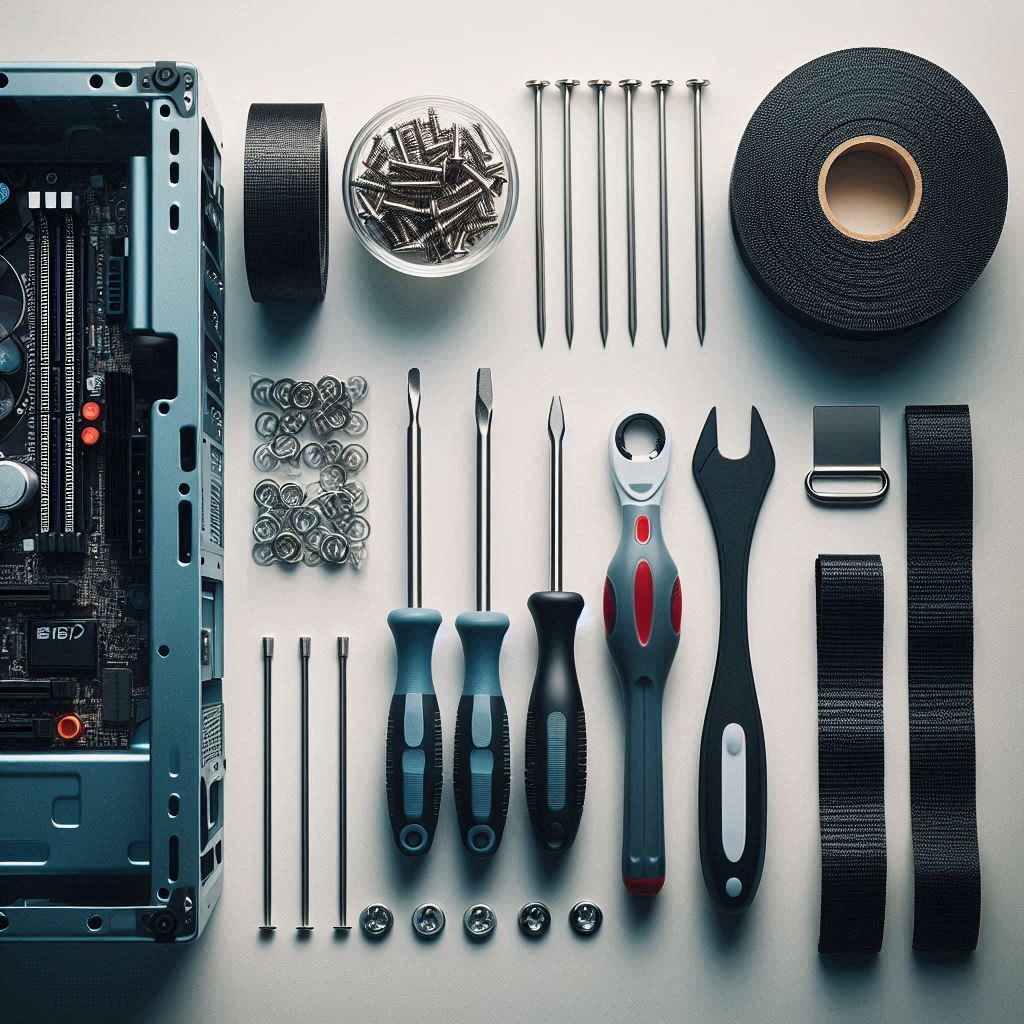
Phillips-head screwdriver (magnetic tips are chef’s kiss)
Anti-static wrist strap (or just touch a metal faucet occasionally—please don’t fry your parts)
Zip ties or Velcro straps for cable management (messy cables are the mullets of PC building)
Patience (optional, but highly recommended)
Step 1: Choose Your Parts Like a Pro
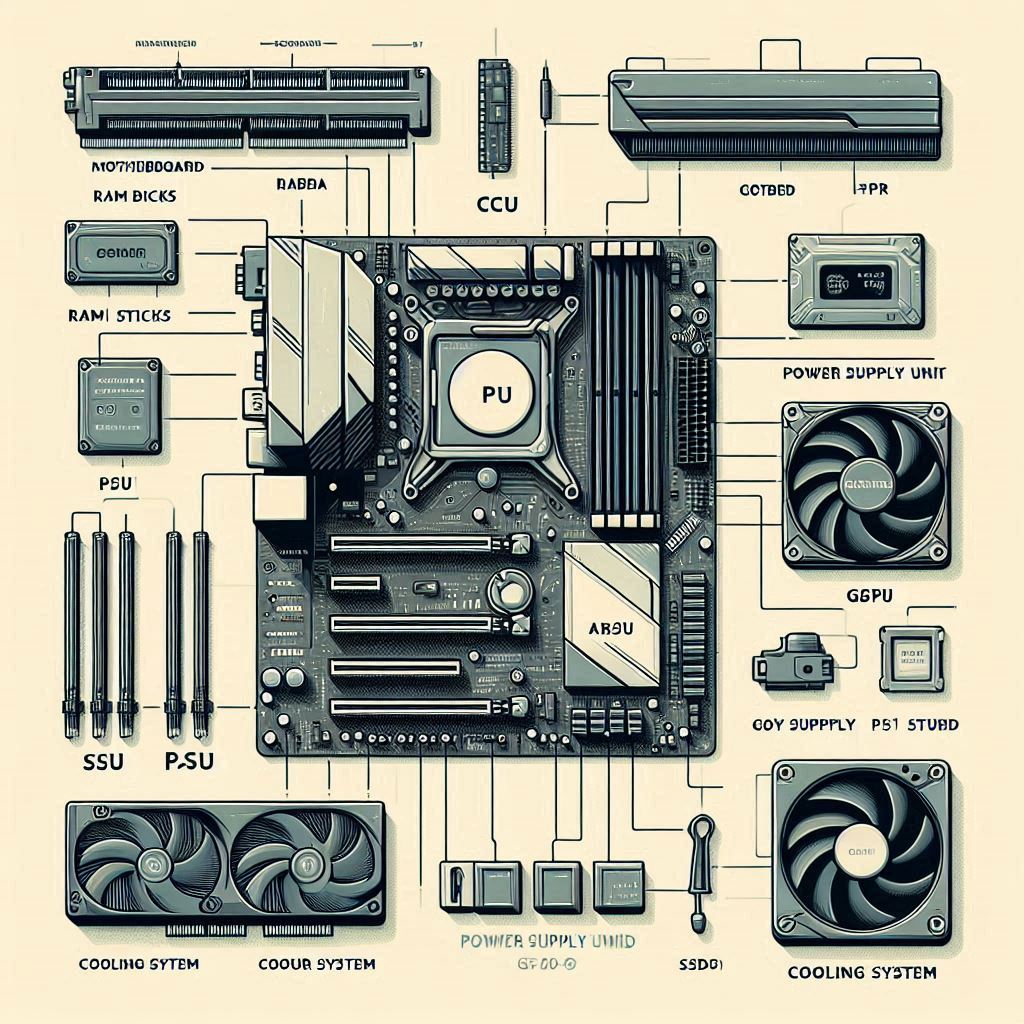
Let’s pretend you’ve already picked your components. If not, PCPartPicker is your new best friend—it checks compatibility so you don’t accidentally pair a DDR5 motherboard with DDR4 RAM (been there).
The Essentials:
CPU (the brain)
Motherboard (the nervous system)
RAM (short-term memory)
Storage (SSD for speed, HDD for bulk storage)
GPU (for gaming/design work)
Power Supply (PSU) (don’t cheap out here—this is the heart!)
Case (size matters—check your motherboard form factor!)
Step 2: Prep Your Workspace (aka Don’t Be a Chaos Goblin)
Clear a large, static-free surface. A wooden table works. Your carpeted floor? Hard pass. Lay out your parts, read the manuals (seriously, just skim them), and crack open a drink. This is your zen moment.
Pro Tip: Keep small screws in a bowl. Losing one inside your case is like dropping a Lego in the dark.
Step 3: Install the CPU—Gentle Like a Butterfly

Intel vs. AMD: Intel CPUs have pins on the motherboard; AMD has them on the chip. Don’t bend them.
Lift the motherboard’s CPU socket lever.
Align the CPU’s golden triangle with the socket marker.
Gently place it in—no pushing! It should drop in smoothly.
Lower the lever and secure it.
Feeling nervous? That’s normal. CPUs are sturdier than they look—just don’t treat it like a hockey puck.
Step 4: RAM Installation (It’s Not Legos, But Close)
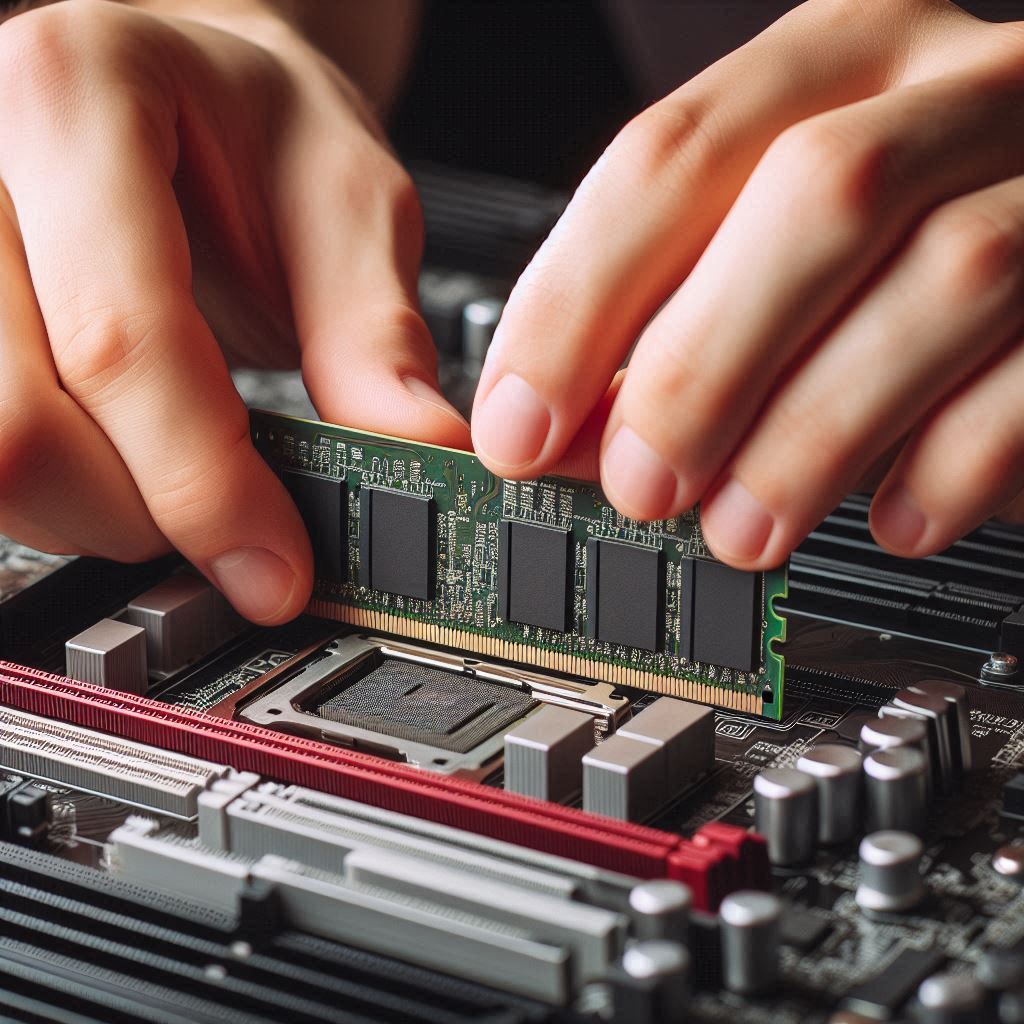
Find the DIMM slots on your motherboard. Most people use slots 2 and 4 for dual-channel performance.
Open the clips on the slots.
Align the notch on the RAM stick with the slot.
Press down firmly until you hear a click.
If it doesn’t seat, don’t force it. Double-check orientation.
Step 5: M.2 SSD—The Speedy Boi
Skip the cables! If you have an M.2 SSD (think: skinny gum stick), slot it into the motherboard’s M.2 port.
Unscrew the motherboard’s M.2 heatsink (if it has one).
Insert the SSD at a 30-degree angle.
Press down and secure it with the screw.
Step 6: Mount the CPU Cooler (Don’t Forget Thermal Paste!)
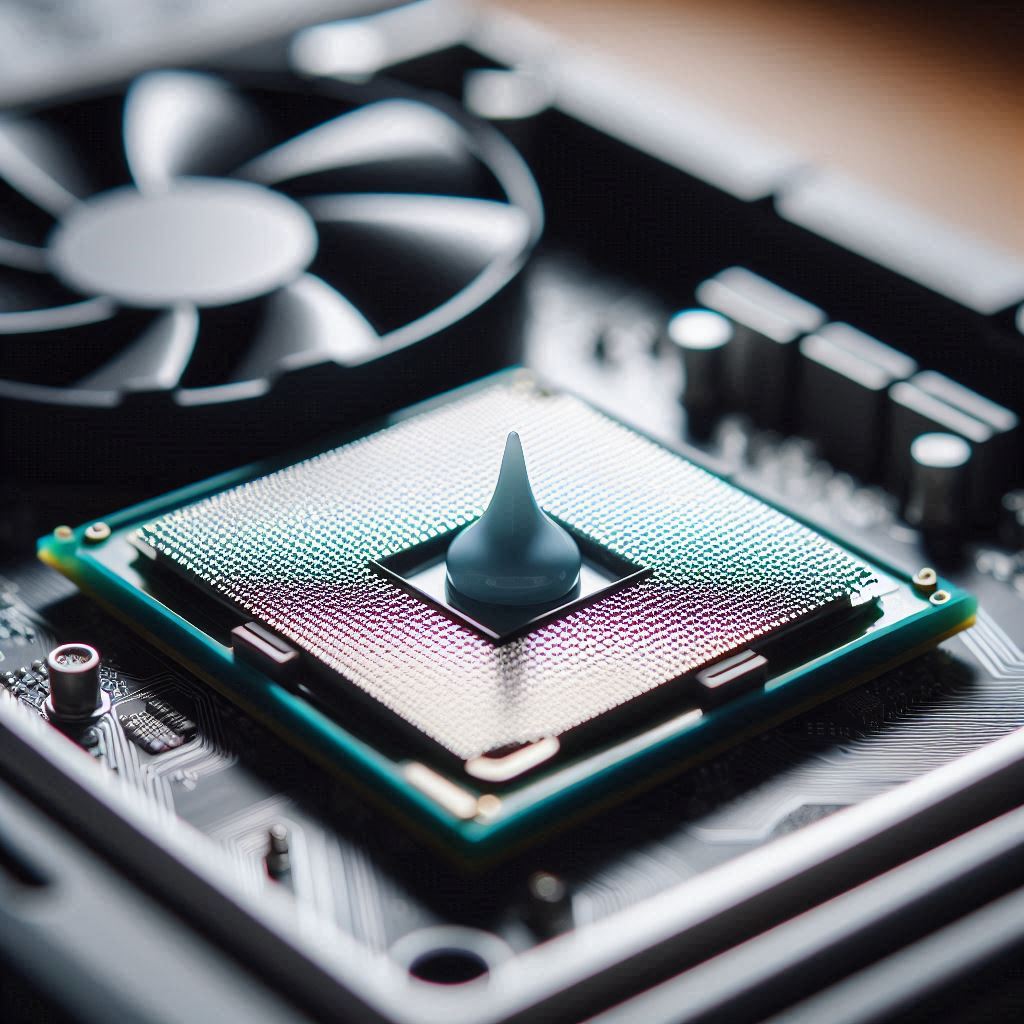
Air Cooler vs. Liquid Cooler: Air coolers are beginner-friendly; liquid coolers look cooler (pun intended).
Apply a pea-sized drop of thermal paste on the CPU.
Align the cooler with the mounting brackets.
Screw it down in a diagonal pattern—don’t overtighten!
Pro Tip: If your cooler has a fan, make sure it’s facing the right direction (usually toward the rear exhaust).
Step 7: Case Time—Motherboard Goes In
Install the I/O shield (that metal plate with holes) into the case first. This step will test your patience.
Screw in the motherboard standoffs (little brass pegs) to match your motherboard’s holes.
Lower the motherboard into the case and secure it with screws.
Step 8: Power Supply (PSU) Installation
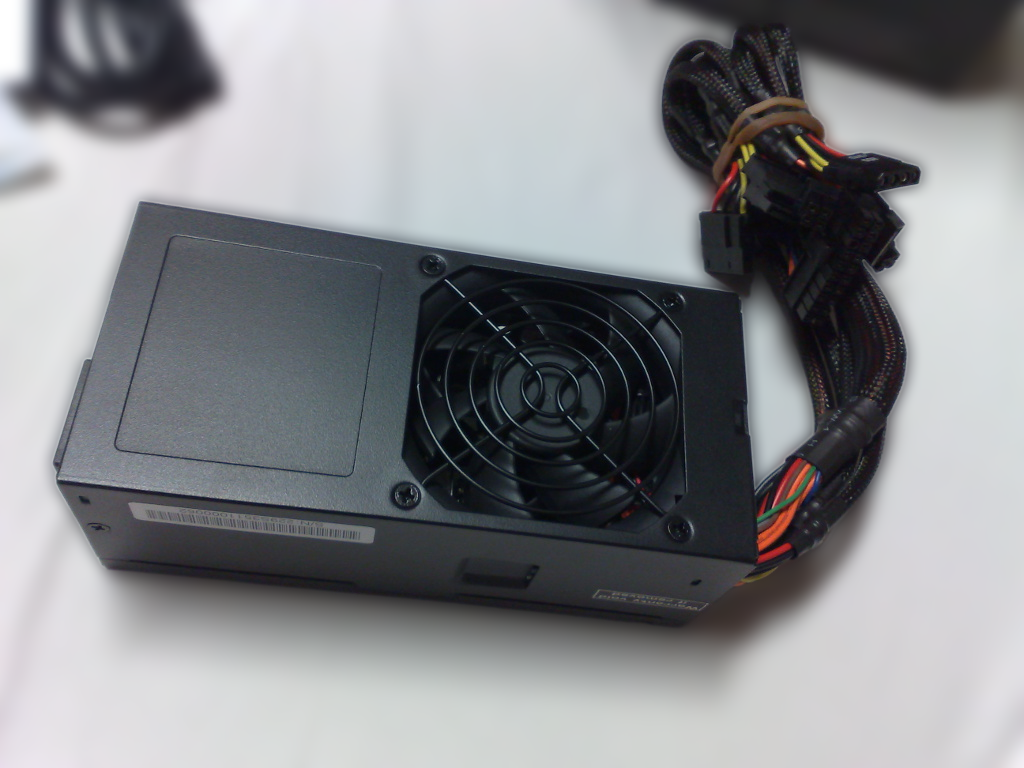
Slide the PSU into its compartment (usually at the bottom rear). Match the fan to the case’s vent. Screw it in, then connect:
24-pin motherboard cable
8-pin CPU power cable (don’t forget this like I did!)
PCIe cables for the GPU
Step 9: GPU—The Big Boy

Remove the case’s rear PCIe slot covers.
Align the GPU with the PCIe x16 slot.
Push down until it clicks, then screw it into the case.
Note: High-end GPUs are heavy. Use a support bracket if yours sags like a disappointed parent.
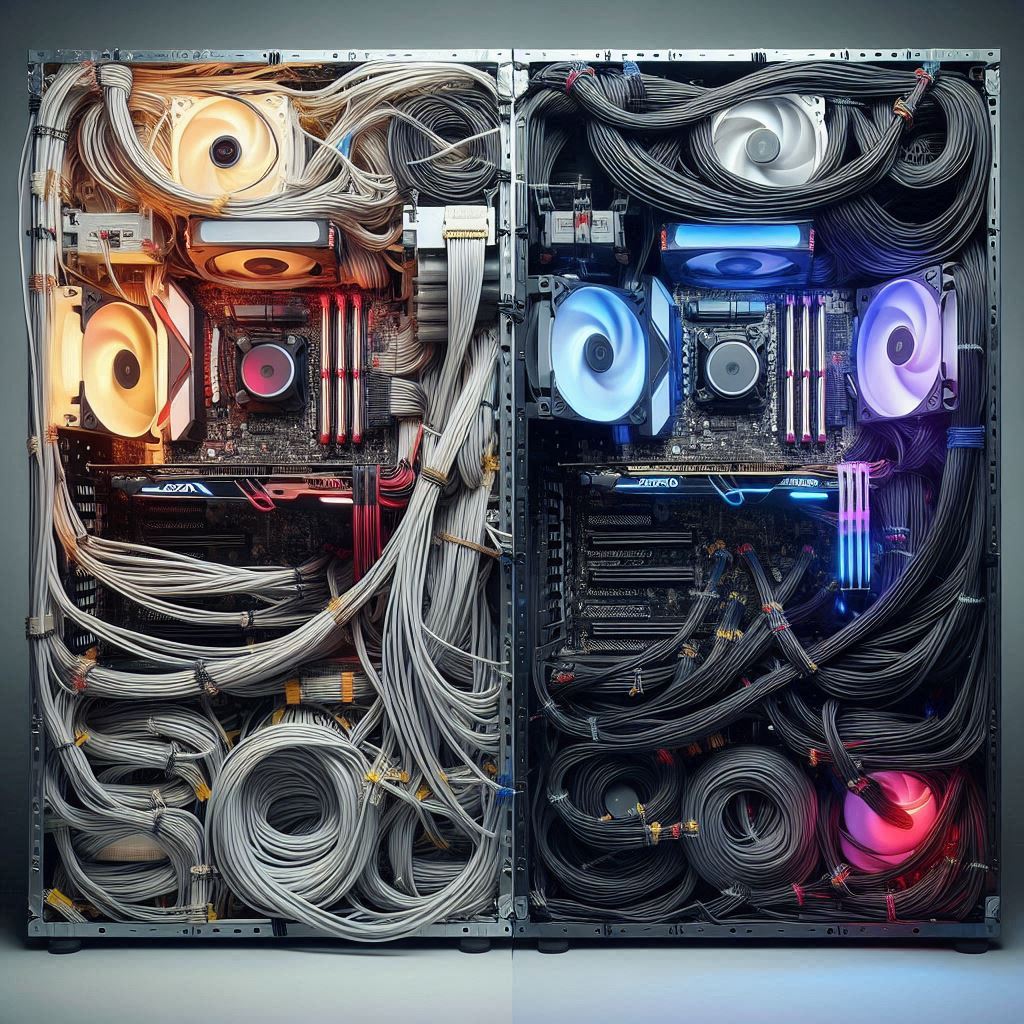
Step 10: Storage and Cable Management (The Final Boss)
SSD/HDD Installation:
For 2.5” SSDs, screw them into dedicated brackets.
For 3.5” HDDs, slide them into drive bays.
Cable Management:
Route cables behind the motherboard tray.
Use zip ties to bundle them. Your future self will thank you.
Step 11: First Boot—The Moment of Truth
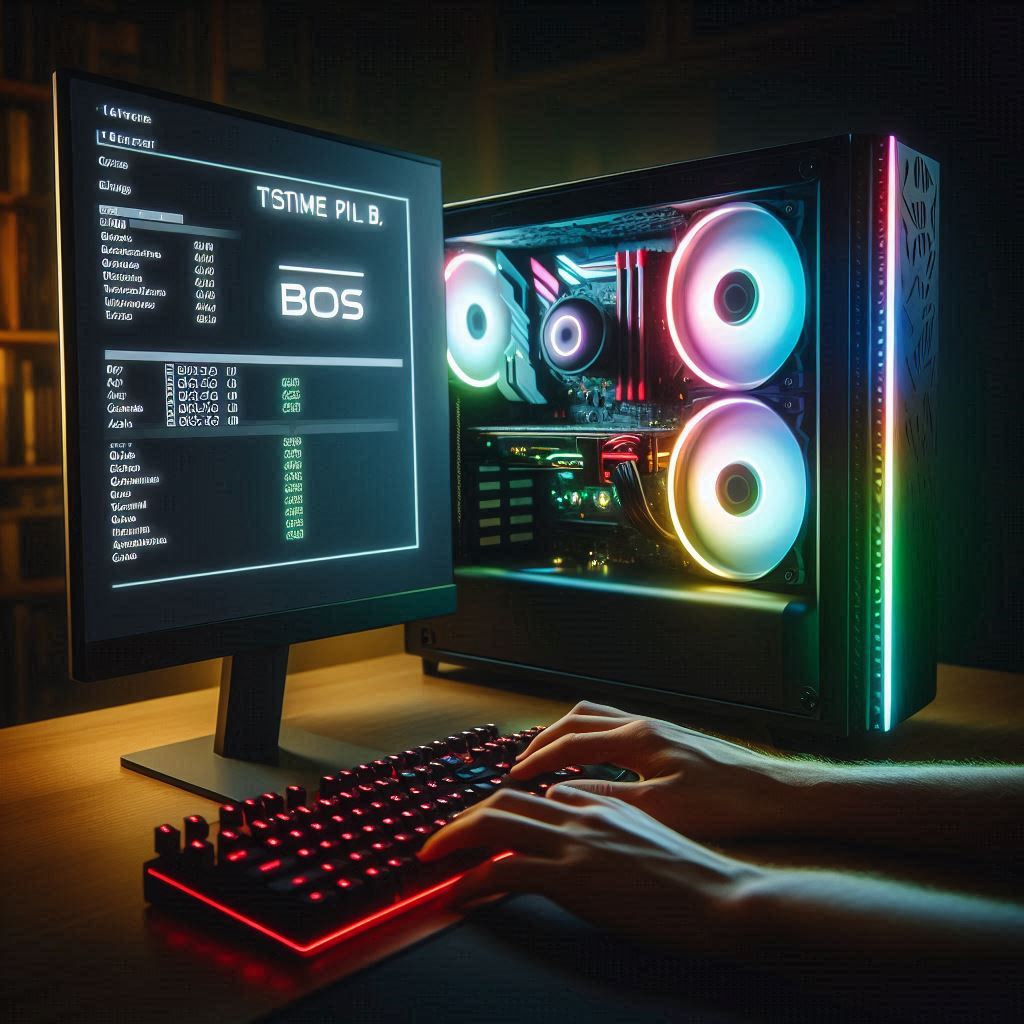
Connect your monitor, keyboard, and power. Hit the switch. If it posts (shows a BIOS screen), you’ve won. If not:
Check all power connections.
Reseat RAM and GPU.
Cry softly, then try again.
Final Step: Install Your OS and Flex
Pop in a Windows USB or Linux ISO, follow the prompts, and boom—you’re done! Download drivers, update BIOS, and bask in the glory of your creation.
Conclusion: You’re Officially a PC-Building Wizard
Look at you! You’ve just leveled up from “tech curious” to “certified hardware hero.” Building a PC isn’t just about saving money—it’s about crafting something uniquely yours.
Got questions? Drop a comment below! Share your build pics, war stories, or that time you accidentally ordered a mini-ITX case for an ATX motherboard (we don’t judge).
And if you’re hungry for more, check out my guide on How to Choose the Perfect GPU
Now go forth and conquer—your gaming marathon (or spreadsheet empire) awaits! 🚀
Call to Action:
Loved this guide? Share it with a friend who’s too scared to build their own PC! Got tips I missed? Let’s chat in the comments. 👇